 |
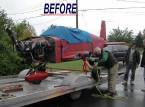
During the summer of 2003 we decided that our Grumman AA1A "Alley cat"
needed a face lift and although I was ready to tackle the job myself, my
good friend and retired Air Traffic Controller, Werner Griesbeck offered to
do the painting. The dirty work was of course sanding down the existing
paint, as stripping was not an option. The Grumman series of light
aircraft are bonded aluminum and the use of chemical stripper to remove the
paint was not recommended for do-it-your selfers. |
|
The Alley cat is 32 years old and it had been stripped and painted in 1991,
which has led to bonding problems. On initial inspection we found minor
corrosion on the airframe and I wanted to make certain that the aircraft was
going to be in the best of condition when the job was finished. |
|
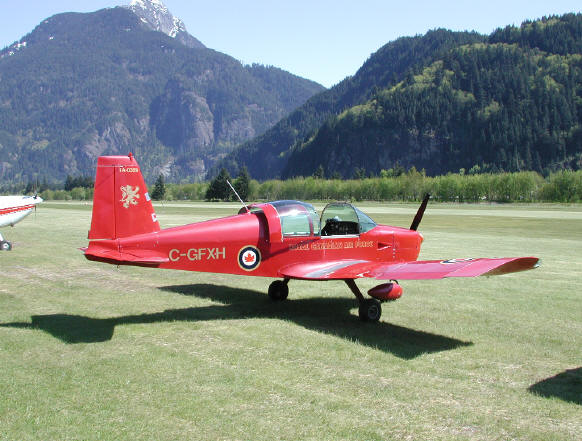
The little 2 seat trainer has been a lot of fun for the past seven years
that I have owned her and now I wanted something very striking in the way of
a paint scheme. I scanned the drawings from the maintenance manual then,
using Adobe Photo Deluxe, started laying out various schemes, including many
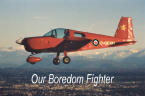
military designs. We attend a few fly-ins and air shows every year and
although the red scheme shown here is OK, it makes the aircraft almost
invisible when flying in the mountains…so that, combined with my favourite
RCAF scheme lead to my decision to make her very bright and visible. We
examined many paint chips and automobile sales lots looking for just the
right shade of yellow and red that would be very close to the original RCAF
colours used on training aircraft. And of course Werner had his ideas on the
type of paint! We settled on a single stage Urethane finish by
Sherman-Williams called "Sun fire". |
 |
 |
Flying continued during the summer, with flights to Orcas Island, Arlington,
Washington for the North-West EAA show and a few other places where pilots
and their aircraft gather. The start date for the work of preparing for the
re-paint was 1 September 2003 and with a bit of apprehension, I armed myself
with lots of sand-paper and rags and started on the little beast. Of course
we had to do some flying during the good weather and at times we would have
liked to be able to hide the aircraft, it looked that bad! I had plenty of
encouragement and advice, and for the next month, I sanded and cleaned that
machine 8 hours a day for what seemed an eternity. |
|
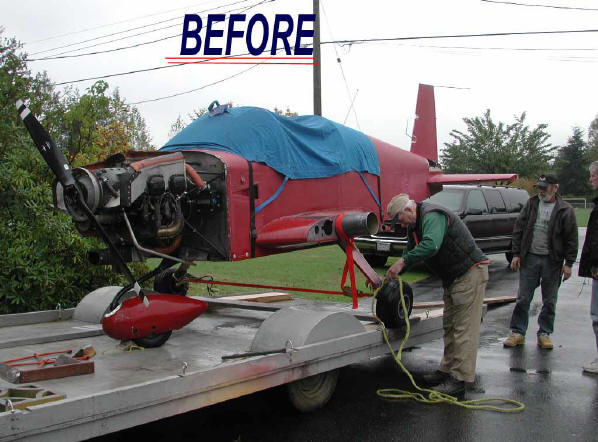
With the sanding finished and the corrosion taken care of, it was time to
take the aircraft apart and haul it over to Werner’s paint shop. I am
fortunate in having friends like Werner, Dan Holliday and Jim McRae, without
whose help this would not have happened. The airframe was transported in
sections to the paint shop where every piece was inspected, repaired as
necessary then prepped for re-finishing. To make the re-assembly easier, we
installed Grumman approved inspection panels. Dan loves doing metal bashing
and he was very meticulous on this job. Of course Werner was peeking over
our shoulders constantly to make certain that we did it right. Along with
Pancho Barnes, the cat. |
 |
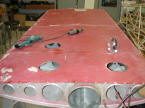 |
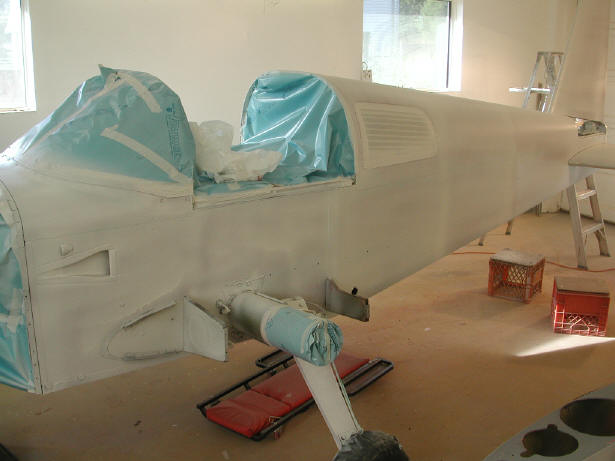
The inspection holes were rough cut then trimmed to close tolerances so that
we would end up with flush panels on the underside of both wings. That big
sewer pipe is the main spar and fuel tank! And all of that aluminum is
epoxied to it. We inspected the interior of the wing and found it relatively
clean after all the years that it had sat outside in the elements. |
|
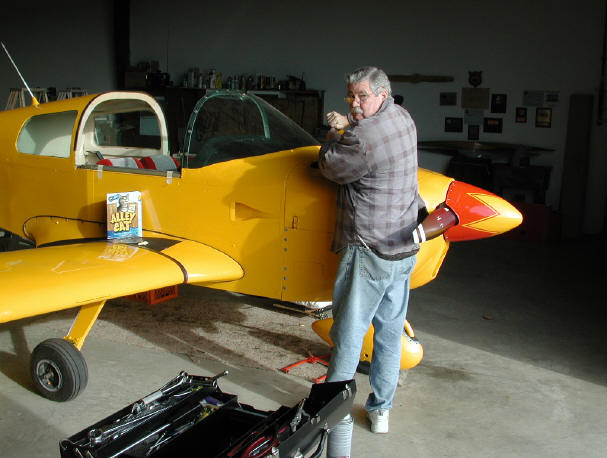
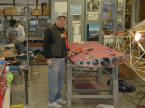
Here, Dan and the Old Barnstormer are hard at work on the project. It will
take nearly a month to finish the repairs, paint and re-assembly and we were
at it nearly every day. We had plenty of supervision and advice from the
constant flow of visitors to the shop. When it came to sanding the dreaded
underside of the fuselage, we got the services of a young fellow, David
Barkum, who did a very good job. It was a very refreshing to see a young
fellow put so much effort into doing a really nasty job.
During the repair sessions, I learned a lot about metal work, with the
help of Dan and the supervision of Werner, I must have squeezed a few
hundred rivets.
|
 |
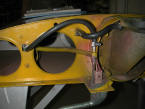 |
We also replaced the flexible fuels lines with a more durable rubber tubing.
The pitot static line was replaced along with all of the vent lines. Once
the wings and control surfaces were prepped and primed with Ultrafill White
primer, they were given three coats of the Sun Fire GM Fleet Yellow. The
cowling was repaired and painted in the same manner. These were then taken
back to the hangar at Langley Airport and the old master tackled the
fuselage. |
|
With everything sanded, repaired as necessary and then masked off, Werner
started shooting the primer on the fuselage. This consisted of two coats,
followed by a lot of fine sanding, tacking and cleaning in preparation for
the Mellow Yellow finish coats. We did manage to keep Werner busy with the
spray gun for quite some time while Dan and I goofed off for a while. |
 |
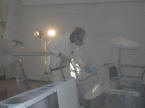 |
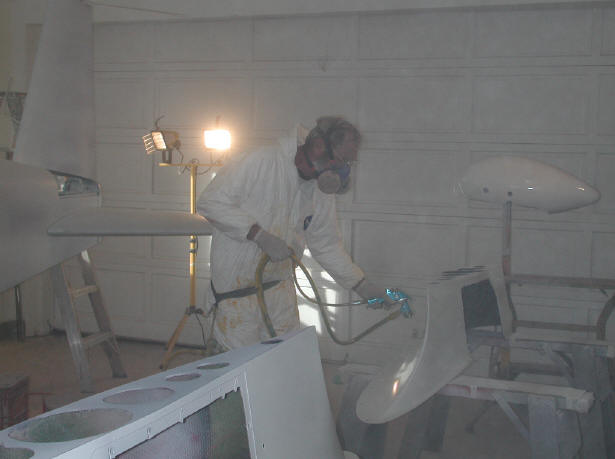
The paint shop took on a foggy appearance while the White primer was being
applied. Here the old master is shooting the wing root fairings and nose
wheel fairing with the primer. For the model builders, notice the safety
precautions: full face mask with fresh outside air, goggles and rubber
gloves as well as a full throw-away chemical resistant suit. How many of us
even wear a face mask when we are painting with an airbrush? |
|
With everything painted and returned to the airport, it was time for the old
geezers to start the re-assembly. Unlike the shake’n bake models from
Tamigawa Bros, this thing had to go together very carefully. It is quite
disturbing to find that you have pieces left over which cannot be
identified! Dan is hard a work here. It took us one day to get the main
components back together. Then Werner and I had to inspect the structure so
that it would comply with the airworthiness certificate. Any time the
controls are unhooked, it requires two people to inspect and certify the
re-installation. |
 |
 |
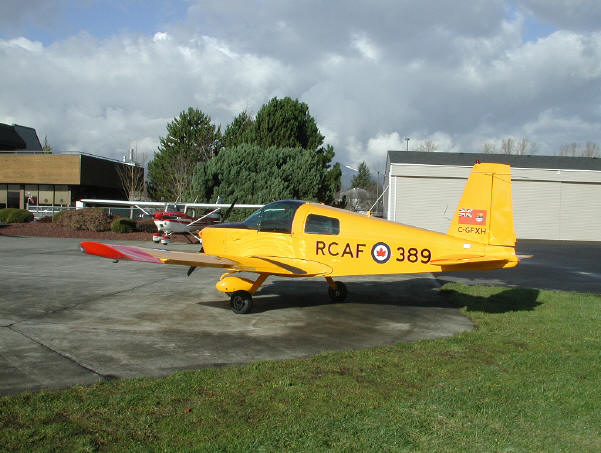
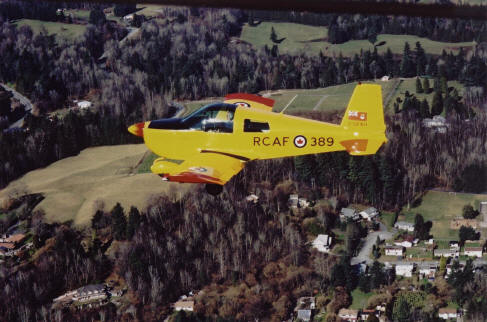
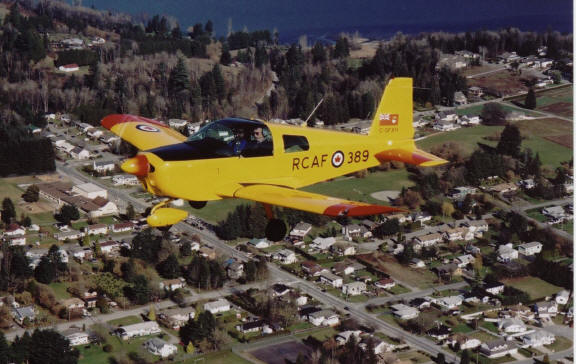
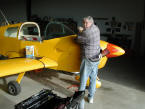
And then it was time to haul it out into the sunshine for the first time.
And was it ever bright! An engine run-up was required to ensure everything
was normal, and as a matter of courtesy I called the tower to let them know
that I would be on the taxi-way for about ten minutes. The response…"Hey
Barney, have you got a dimmer switch on that thing?" As you can see, there
were no markings on the aircraft at this time but I did have proper RCAF
decals made and here is where the modelling fraternity played a part. I
needed a Canadian Red Ensign Flag for the tail and after a request for help
on the Aircraft Resource Center web forum, one of the guys sent me a file
which I had printed as a vinyl decal. Thanks again Jeff. |
|
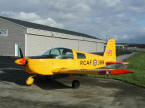
All of the markings are in correct ratio and correct font as I had Patrick
Martin’s latest book as a reference. The book, Royal Canadian Air Force,
Aircraft Finish and Markings, 1947-1968, is an absolute must for anyone
building RCAF model aircraft. The fuselage serial is the "Last Three" of
this aircraft serial number and complies with the EOs of the time.
Am I happy with the final results? You Bet! And that STAR on the spinner
looks like flames with the thing running. This is one aircraft that will be
seen in the air. |
 |