|
| |
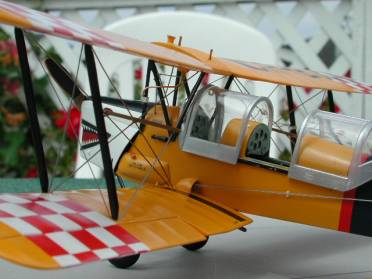
Tiger by the Tail: Part 2
With the lower wing and tail assembly attached to the fuselage and the Tiger
beginning to look like and aeroplane on its gear, it was time to start planning
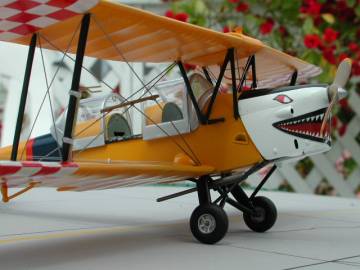
the paint and decal sequence. Using Polly Scale Flat white, I sprayed the wing and
tail surfaces that would get the checkerboard treatment and the cowling. This
was masked off then the entire model was sprayed with Polly Scale Deep Japan
Yellow which was as close to RCAF Trainer Yellow as I could get in acrylic
paint. The masks were removed and all components were sprayed with my favourite
Gloss coat...Not Future, but again Polly Scale.
| Decals were next applied to the wings and tailplanes and I
must say that Mike Grant Decals go on beautifully. The mouth and eyes were
added to the cowling and set aside. If I were doing this again I would
have Gloss coated the model before proceeding with anything else... just to
protect the decals, which are very fragile. |
 |
 |
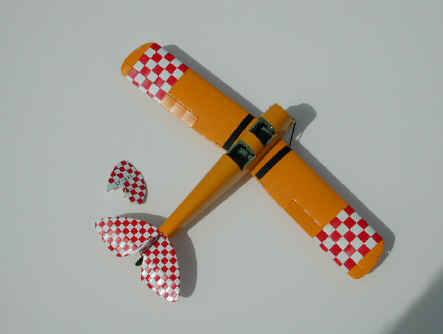
Next came the struggle to attach the struts to the upper
wing. The cabane struts were glued in place, the fuel shutoff assembly
added and everything looked great. Until I tried aligning the upper wing
to the fuselage! The 2.5 degrees dihedral in the upper wing had slowly
sagged and with all the interplane struts in place, the cabanes looked to
be about 3/16 inch too short...until I noticed the lack of dihedral. The
trusty razor saw along the fuel tank/wing root took care of the sag and
everything was glued up and set aside for a couple of days to harden
thoroughly. |
| During the drying time for the fuselage/wing assembly, I
started detailing the engine using photos of Bill Orbeck’s Tiger as
reference. Completion of this chore was not as gratifying because I
noticed that the kit cowling was for the Brit version with no provision
for a Canadian cowling. At this stage I said nuts!!! And closed up the
cowling around my neat little Gypsy engine. |
 |
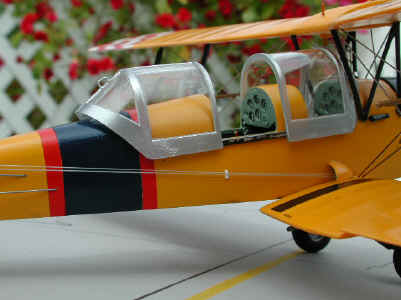 |
The canopy was tackled next. Polished and masked, I sprayed
a couple of very light coats of Alclad II directly onto the bare plastic.
Note the very light coats. Canopy handles attached, this was set
aside while a Canadian exhaust system was fabricated from plastic rod and
tube.. |
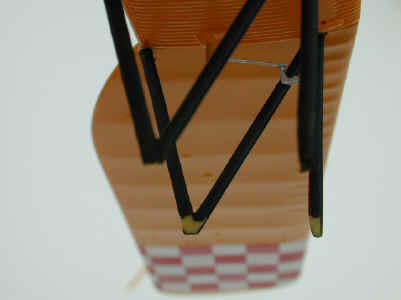
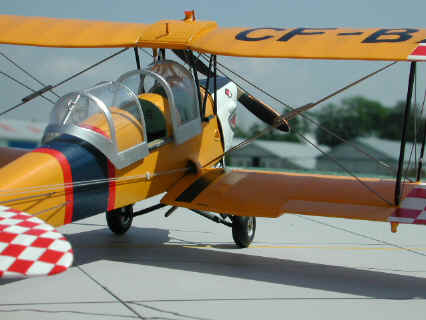
| The cowling was next attached to the fuselage and the rigging was started.
Initially I used stretched sprue, but not very impressed, I decided to switch to
.015 steel wire. This went in very nicely...except for dropping each piece at
least twice onto the Shag Monster That Eats Everything! Having predrilled all
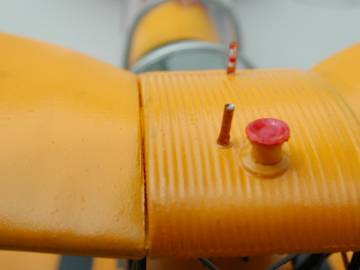
the rigging holes helped immensely. Next came the control cables to the
elevators and rudder...and here I found that CA glue is only instant when you get
it on your fingers. This was frustrating to say the least. Next I fabricated the
pitot/static system from brass rod and attached it to the starboard interplane
strut. The fuel filler came next, then the fuel sight tube. This was made from
predrilled clear sprue which was stretched then painted. |
 |
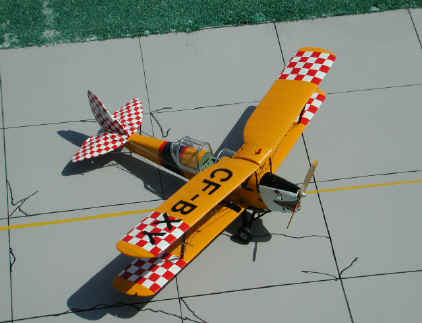 |
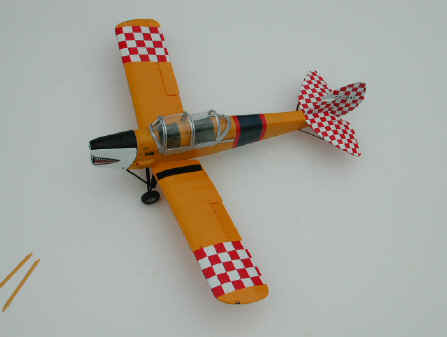
The entire aircraft was then sprayed with three coats,
misted very lightly, of Polly Scale Gloss Coat. With this dried, I put the
canopy on the Moth and attached the prop. The last items required were the
elevator and aileron counter balance weights. These were made from airfoil
shaped strut material that I had been hoarding for many years, and
repeated drops of MicroScale Krystal Kleer added for the weights. These
were then painted gloss black and the monster was finished!!! After 3
months of daily work, my old Tiger Moth was finished. Not flawless, but
certainly a fair reproduction of an airplane that I had owned so many
years ago. |
Would I ever do a project like this again? Probably not! It was too time
consuming and at times very frustrating. I hope that all of you on ARC enjoy my
Tiger Moth.
Barney Dunlevy
Construction Articles Table of Contents
|