 |
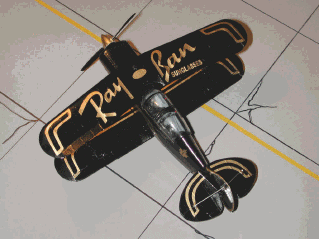
One of my favourite teams on the airshow circuit
was the Canadian Ray Ban Golds, flying the Pitts S2B. The team was started
under the original Carling Red Caps, then Canadian Reds, and with Ray Ban
picking up the tab as a sponsor, the aircraft were given a very distinctive
paint scheme. |
|
Then along came Pete Groves, who got me hooked on doing his
Airshowmodels.com kits and it was a natural to do the Ray Ban’s Pitts
S2B…seeing as George Kirbyson’s aircraft is parked behind mine in a hangar
at Langley, BC. George had been in No.2 aircraft when the team worked as a
four-plane, then became No.1 with the change to a 3 plane formation. If you
were at Abbotsford and saw the Ray Ban Team fly formation with Canadian
Pacific Airlines Boeing 747, you would never forget the low passes down
runway 18-36. |
 |
 |
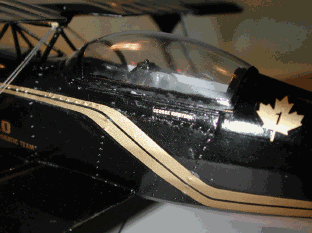
I photographed George’s aircraft and sent the
images to Greg Thompson, Horizonsnz.com, a master at doing decal layout for
models. Greg did his thing with the decals and the file was then sent to
Pete Groves for approval before going on to Fantasy Print Shop in the UK.
The first run of decals looked extremely good but a problem occurred when
attempting to apply them on the model…there was no carrier film between the
gold lines resulting in a real mess. Using Microscale Liquid Decal Film over
the decal sheet solved that problem and Pete had the necessary changes made
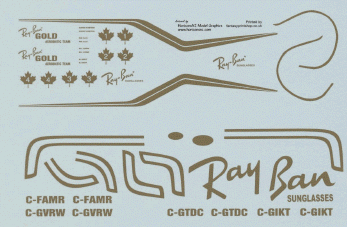
to the decals to make it easier to apply the markings. The two sheets allow
you to build any one (or all) of the Ray Ban Team, having the civil idents,
position numbers and pilots names on the sheet. |
|
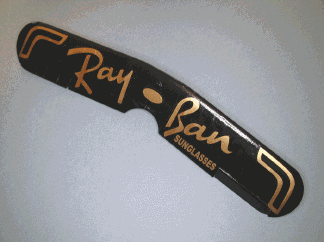
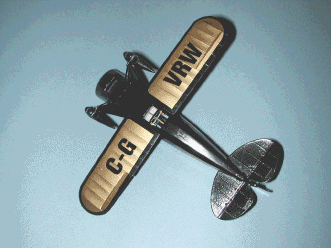
The undersides of the upper and lower wing and
the horizontal tail are gold with the aircraft ident being applied over the
gold decal after it has dried. I might add here that Greg’s layout resulted
in a perfect fit for all decals. There was no silvering under the clear
carrier and with a sprayed clear gloss coat of Polly Scale over the model
after it was finished virtually made the carrier disappear. |
 |
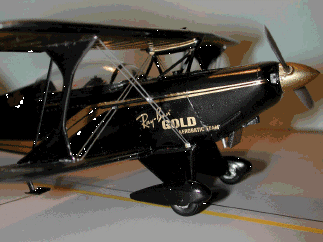 |
The upper wing markings consist of six separate
pieces and with all of these markings, I found that a bit of Mother Nature’s
setting solution works best…saliva on a finger…before applying the decal.
After the decals were applied, I used Solvaset to get them to draw into the
surface of the model. This was very necessary on the fuselage around the
cowling and the stripe along the top fairing. |
|
With the change made to the decal sheet, I have
no problem recommending this product to anyone. The results make for a
spectacular model. Oh by the way, the gold spinner was painted using
Sheffield Pale Gold paint found in the crafts shops and hardware stores in
Canada. |
 |
|